소개
당신이 게이머이자 열렬한 프로그래머라면. 올바른 위치에 왔습니다. 우리는 인기있는 게임 통계 사이트 https://eune.op.gg/ 의 1$ 버전을 재현하려고 노력할 것 입니다.
그 과정에서 이 기사에서는 Strapi를 사용하여 사용자 지정 API 엔드포인트를 생성하는 방법을 배우게 됩니다. 끝점의 경우 외부 데이터를 가져올 수 있도록 사용자 지정 작업도 정의됩니다. 또한 GraphQL 플러그인을 활성화하고 사용자 지정 API 엔드포인트가 사용자 지정 스키마 및 해석기를 사용하여 GraphQL을 통해 쿼리할 수 있도록 합니다.
Graphql이란 무엇입니까?
공식 GraphQL 페이지 에 명시된 바와 같이 API용 쿼리 언어에 불과합니다. GraphQL을 사용 하면 클라이언트(프론트엔드 페이지) 가 API에서 필요한 데이터만 검색하고 그 이상은 검색할 수 없으므로 복잡한 애플리케이션을 구동하는 더 빠르고 확장 가능한 방법이 됩니다.
Facebook에서 처음 개발했으며 2015년에 오픈 소스가 되었습니다.
전제 조건
1.
yarn/npm - vlatest
2.
스트래피 - vlatest
3.
NextJs - vlatest
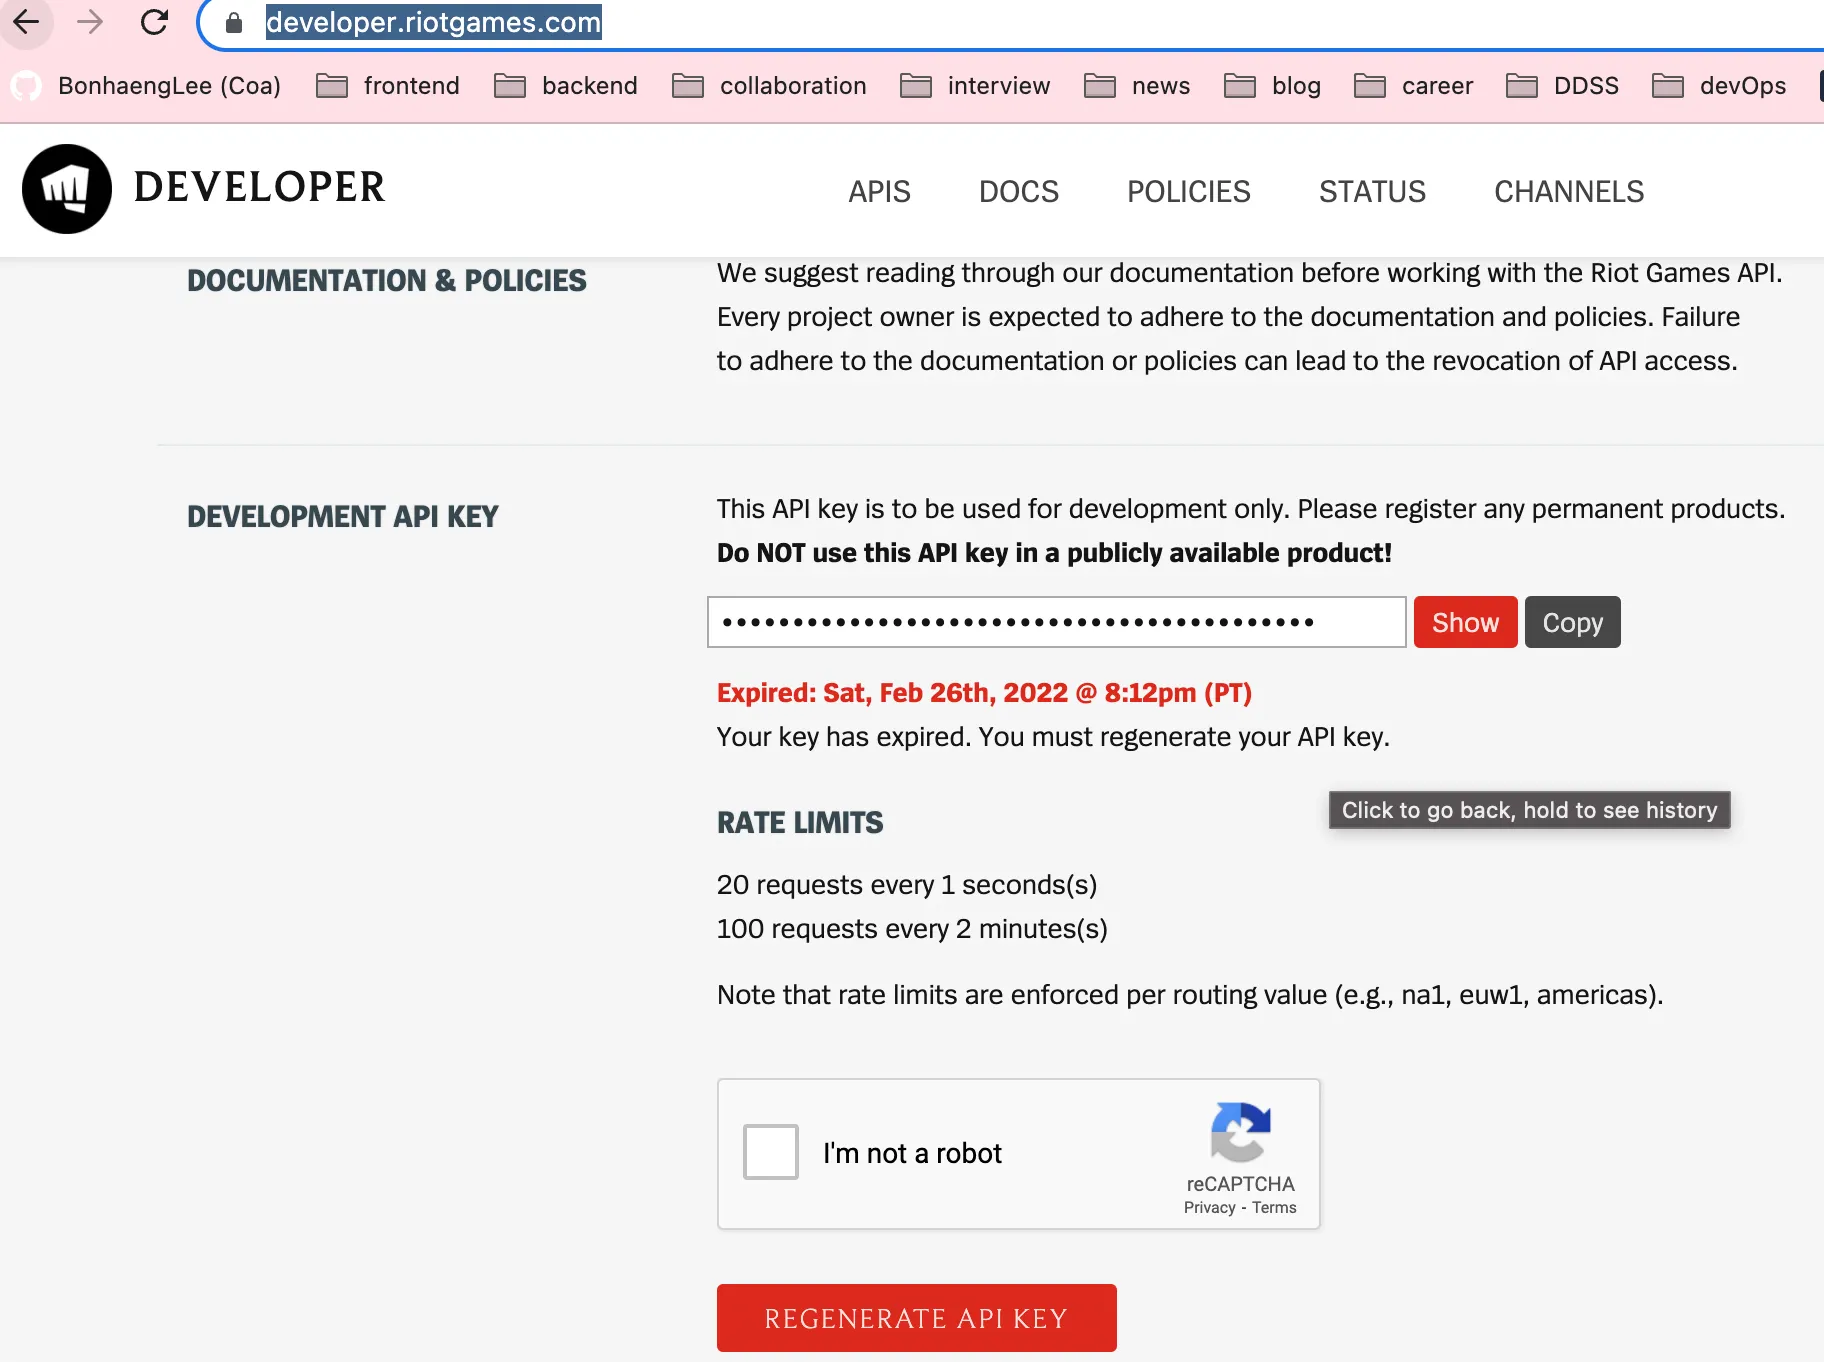
앱 빌드를 시작하기 전에 이미 Riot Games 계정이 있는지 확인하세요. 그렇지 않은 경우 쉽게 만들거나 소셜 로그인 버튼을 사용할 수 있습니다. 대시보드 페이지 에서 API 키를 생성하려면 계정이 필요합니다 .
키를 생성한 후에 .env는 코드 내에서 공개적으로 노출되지 않도록 파일에 저장하고 비밀로 유지하십시오.
앱 빌드
이제 모든 것이 설정되었으므로 손을 더럽히고 코딩을 시작하겠습니다. 가장 먼저 하고 싶은 일은 백엔드/프론트엔드 프로젝트를 저장할 쉽고 접근 가능한 위치를 선택하는 것입니다. 광산은 아래에 있을 것 C:\Projects입니다.
프론트엔드 및 백엔드 폴더를 먼저 생성해야 합니다 .
백엔드 설정
백엔드 부분의 경우 간단한 Strapi 빠른 시작 애플리케이션으로 시작하겠습니다.
터미널 창을 열고 C:\Projects\backend. 원하는 위치에서 다음 명령을 실행합니다.
yarn create strapi-app <name> --quickstart
Plain Text
복사
프로젝트가 직접 생성되면 코딩을 시작하는 데 필요한 모든 파일과 구성이 생성됩니다. 사용할 기본 데이터베이스는 SQLite입니다.
필요에 따라 설치가 완료된 후 다음 패키지를 추가해야 합니다 yarn add axios strapi-plugin-graphql. 후자는 귀하의 Strapi 앱용 GraphQL 플러그인을 다운로드하여 설치합니다.
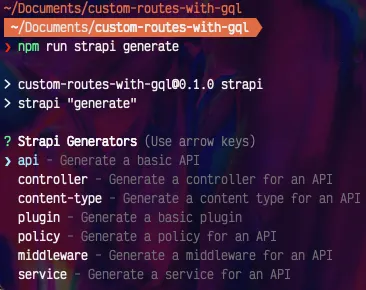
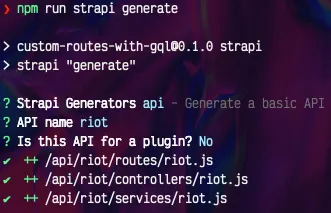
관리자 프로필을 만들고 관리자 페이지 http://localhost:1337/admin 에 로그인 하면 다음으로 사용자 지정 API를 만들 것입니다. 이를 위해 우리는 Strapi CLI 기능을 사용하거나 원하는 경우 수동으로 수행할 수 있습니다.
root백엔드 프로젝트의 디렉토리 아래에 있고 터미널 내부에서 다음 명령을 실행 하는지 확인하십시오 .
strapi generate:api riot
Plain Text
복사
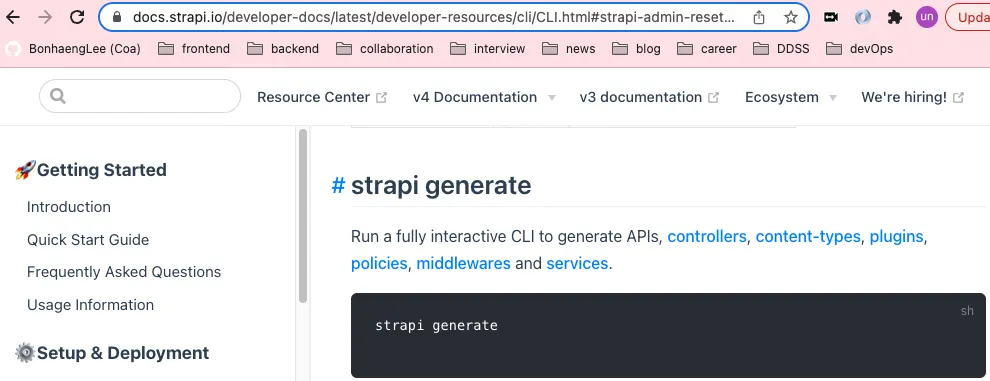
안된다. v3 버전인듯. v4는 docs latest를 보니 이렇게 한다.
이 기사에서는 모델의 폴더 가 필요하지 않으므로 .\backend\api\riot\models. 이렇게 하면 지금 당장은 필요하지 않으므로 관리자 패널의 사이드바에 표시되지 않습니다.
Custom routes
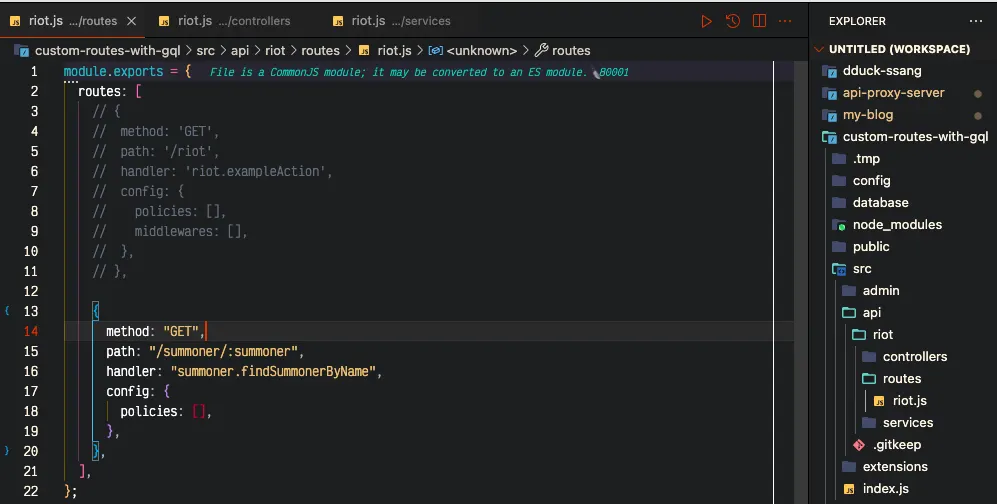
이제 사용자 지정 경로를 생성해 보겠습니다. 다음 파일 내 .\api\riot\config\routes.json에서 생성된 모든 경로를 다음 코드로 덮어쓸 수 있습니다.
{
"routes": [
{
"method": "GET",
"path": "/summoner/:summoner",
"handler": "summoner.findSummonerByName", // riot.js인데 riot
"config": {
"policies": []
}
}
]
}
JSON
복사
요청이 엔드포인트로 전송될 때마다 localhost:1337\summoner\:summoner컨트롤러 핸들러 작업 findSummonerByName이 호출됩니다.
위치는 조금 다르다.
Controller
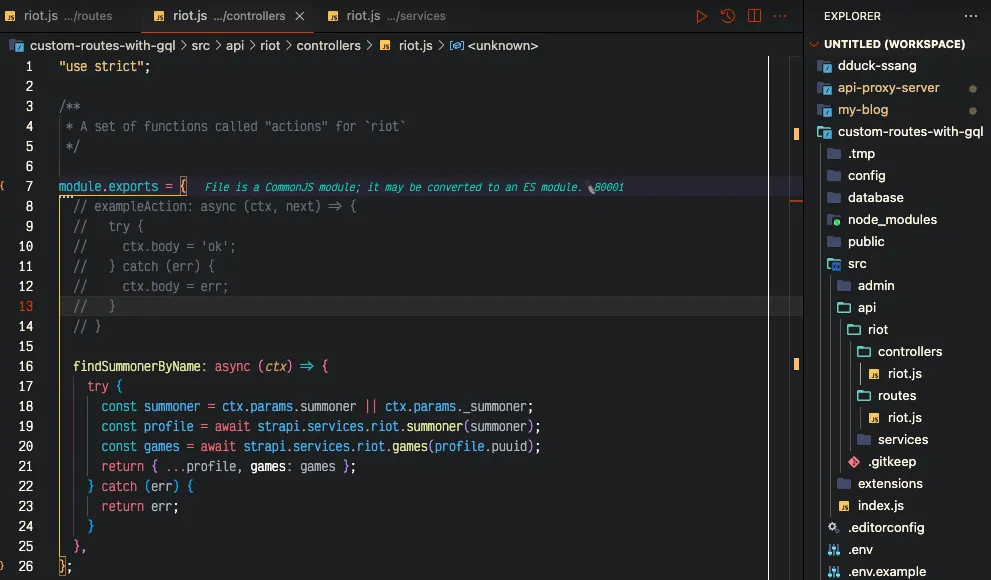
이제 사용자 정의 컨트롤러 작업을 정의해 보겠습니다. 내부에 다음 코드 비트를 복사해야 합니다 .\api\riot\controllers\summoner.js.
"use strict";
module.exports = {
findSummonerByName: async (ctx) => {
try {
const summoner = ctx.params.summoner || ctx.params._summoner;
const profile = await strapi.services.riot.summoner(summoner);
const games = await strapi.services.riot.games(profile.puuid);
return { ...profile, games: games };
} catch (err) {
return err;
}
},
};
JavaScript
복사
컨트롤러 내부에서 두 가지 사용자 정의 서비스를 사용하고 있다는 점에 유의하십시오. 이러한 서비스는 Riot 서버에서 필요한 데이터를 가져와 API로 반환하기 위해 만들어졌습니다. 또한 Strapi 응용 프로그램 내에서 원하는 곳 어디에서나 사용할 수 있습니다.
Services
이제 아래에 있는 서비스 코드를 살펴보겠습니다..\api\riot\services\riot.js
const axios = require("axios");
const fetchRiot = async (uri) => {
const { data } = await axios.get(uri, {
headers: { "X-Riot-Token": process.env.RIOT_KEY },
});
return data;
};
module.exports = {
summoner: async (name) => {
// Setup e-mail data.
try {
const data = await fetchRiot(
`https://eun1.api.riotgames.com/lol/summoner/v4/summoners/by-name/${name}`
);
return data;
} catch (err) {
return err;
}
},
games: async (puuid) => {
try {
const data = await fetchRiot(
`https://europe.api.riotgames.com/lol/match/v5/matches/by-puuid/${puuid}/ids?start=0&count=5`
);
const games = await Promise.all(
data.map(async (id) => {
const {
info: {
gameCreation,
gameDuration,
gameId,
gameMode,
participants,
},
} = await fetchRiot(
`https://europe.api.riotgames.com/lol/match/v5/matches/${id}`
);
return {
gameCreation: gameCreation,
gameDuration: gameDuration,
gameId: gameId,
gameMode: gameMode,
...participants.filter((item) => {
return item.puuid == puuid;
})[0],
};
})
);
return games;
} catch (err) {
return err;
}
},
};
JavaScript
복사
GraphQL 스키마
Stripi CLI는 우리가 필요로 하는 다음 파일을 자동으로 생성하지 않지만 걱정 없이 수동으로 생성할 수 있습니다.
따라서 내부 .\api\riot\config\schema.graphql.js는 사용자 지정 경로에 대한 사용자 지정 GraphQL 스키마를 정의해야 하는 곳입니다. 내부에 다음 코드를 붙여넣어야 합니다.
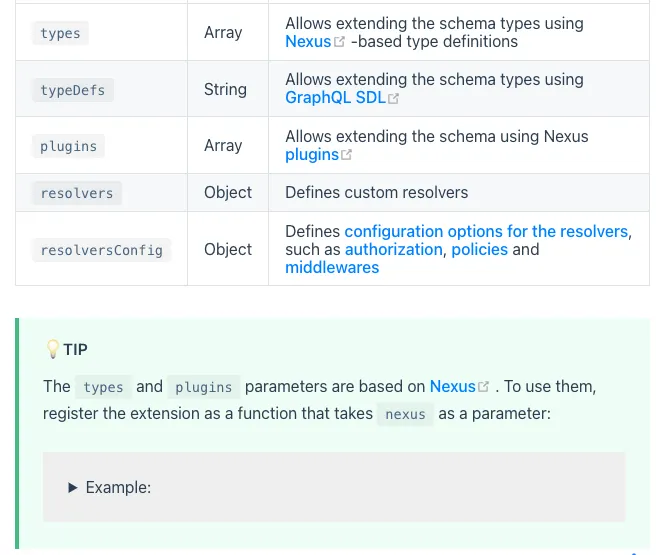
이 위치가 없다. 어떻게 넣지? Nexus
index.js 위치에 넣기는 이상하다. 아래 링크를 보니 있다.
module.exports = {
definition: `
type Game {
gameCreation: Int!,
gameDuration: Int!,
gameId: Int!,
gameMode: String!,
assists: Int!,
kills: Int!,
deaths: Int!,
championName: String!,
champLevel: Int!
win: Boolean!
}
type Summoner {
id: String!,
accountId: String!,
puuid: String!,
name: String!,
profileIconId: Int!,
revisionDate: Int!,
summonerLevel: Int!,
games: [Game]
}`,
query: `
Summoner(summoner: String!): Summoner!
`,
resolver: {
Query: {
Summoner: {
description: "Get the Summoner object in the Riot API.",
resolver: "application::riot.summoner.findSummonerByName",
},
},
},
};
JavaScript
복사
이제 브라우저에 모든 것이 준비되었으므로 GraphQL 인터페이스 (프로젝트의 http://localhost:1337/graphql )로 이동하고 다음 쿼리를 테스트할 수 있습니다.
query SummonerByName($summoner: String!){
SummonerInfo: Summoner(summoner: $summoner ) {
id
puuid
name
summonerLevel
profileIconId
games {
gameMode
gameCreation
gameDuration
assists
kills
deaths
championName
champLevel
win
}
}
}
Bash
복사
또한 계정의 소환사 또는 원하는 경우 기존 소환사 summoner로 변수를 설정했는지 확인하십시오 .namename
올바르게 따랐다면 요청된 모든 데이터를 성공적으로 반환해야 합니다.
사용자 지정 GraphQL 유형의 경우 REST 끝점에서 반환된 것보다 적은 수의 필드만 선언했습니다. 사용 가능한 모든 필드를 반환하는 REST 엔드포인트와 달리 필수 필드만 반환할 수 있다는 것이 GraphQL의 장점입니다. 이렇게 하면 프런트엔드 사이트에 불필요한 데이터가 로드되지 않습니다.
프런트엔드 설정
엄청난! 이제 백엔드가 준비되었으므로 프론트엔드 페이지로 바로 이동하겠습니다.
프론트엔드 페이지에서는 NextJ를 사용할 것입니다. yarn create next-app <name>에서 다음 명령 을 실행하여 새 프로젝트를 C:\Projects\frontend시작할 수 있으며 코딩을 시작할 수 있도록 필요한 모든 파일과 구성을 자동으로 부트스트랩합니다.
설치가 완료되면 애플리케이션을 통해 사용할 다음 종속성을 추가해야 합니다 yarn add @apollo/react-hooks @emotion/react @emotion/styled apollo-boost axios graphql.
홈페이지
홈 페이지에 대해 이미 생성된 구조를 사용하여 앱의 주요 부분을 렌더링합니다.
첫 번째 단계로 .\frontend\pages\index.js아래 코드를 복사하여 붙여넣을 수 있습니다.
import Head from "next/head";
import Image from "next/image";
import styles from "../styles/Home.module.css";
import styled from "@emotion/styled";
import Query from "../components/Query";
import SUMMONER_QUERY from "../queries/summoner/summoner";
const Summoner = styled.div`
flex-direction: column;
p {
padding: 0;
margin: 0;
line-height: 1.5;
}
img {
margin-bottom: 10px;
border-radius: 50px 50px;
}
`;
const Container = styled.div`
display: flex;
justify-content: center;
padding-top: 35vh;
`;
const Stats = styled.div`
display: flex;
flex-direction: column;
justify-content: center;
align-items: center;
`;
export default function Home() {
return (
<div className={styles.container}>
<Head>
<title>Create Next App</title>
<meta name="description" content="Generated by create next app" />
<link rel="icon" href="/favicon.ico" />
</Head>
<Container>
<main className={styles.main}>
<Query query={SUMMONER_QUERY} summoner="TwistedPot">
{({ data: { SummonerInfo } }) => {
return (
<div>
<Summoner className={styles.grid}>
<img
src={`http://ddragon.leagueoflegends.com/cdn/11.15.1/img/profileicon/${SummonerInfo.profileIconId}.png`}
alt="Image"
height="100"
width="100"
/>
<p>{SummonerInfo.name}</p>
<p>Level: {SummonerInfo.summonerLevel}</p>
</Summoner>
<div className={styles.grid}>
{SummonerInfo.games.map((game) => {
return (
<div className={styles.card} key={game.gameCreation}>
<Stats>
<div
style={{
display: "flex",
flexDirection: "row",
justifyContent: "center",
alignItems: "center",
}}
>
<img
src={`http://ddragon.leagueoflegends.com/cdn/11.15.1/img/champion/${game.championName}.png`}
alt="Image"
height="50"
width="50"
style={{
borderRadius: "50px 50px",
}}
/>
<p
style={{
paddingLeft: "25px",
}}
>
{game.championName}
</p>
</div>
<div
style={{
display: "flex",
flexDirection: "row",
justifyContent: "center",
alignItems: "center",
padding: "10px 0px",
}}
>
<img
src={`http://ddragon.leagueoflegends.com/cdn/5.5.1/img/ui/score.png`}
alt="Image"
height="25"
width="25"
/>
<p>
{game.kills +
"/" +
game.deaths +
"/" +
game.assists}
</p>
</div>
<div
style={{
display: "flex",
flexDirection: "column",
width: "100%",
}}
>
<p>Champion Level: {game.champLevel}</p>
<p>Mode: {game.gameMode}</p>
<p>
Duration:{" "}
{Math.round(game.gameDuration / 1000 / 60)}{" "}
minutes.
</p>
<p>Result: {game.win ? "Win" : "Lose"}</p>
</div>
</Stats>
</div>
);
})}
</div>
</div>
);
}}
</Query>
</main>
</Container>
<footer className={styles.footer}>
<a
href="https://vercel.com?utm_source=create-next-app&utm_medium=default-template&utm_campaign=create-next-app"
target="_blank"
rel="noopener noreferrer"
>
Powered by{" "}
<span className={styles.logo}>
<Image src="/vercel.svg" alt="Vercel Logo" width={72} height={16} />
</span>
</a>
</footer>
</div>
);
}
JavaScript
복사
로 프로젝트를 실행하려고 yarn dev하면 몇 가지 오류가 발생할 수 있습니다. 계속하려면 몇 가지를 더 만들어야 하기 때문입니다.
쿼리 구성 요소
\graphql첫 번째는 끝점 을 가져오기 위해 코드의 어느 곳에서나 사용할 수 있는 재사용 가능한 쿼리 구성 요소를 만드는 것입니다 . 쿼리 구성 요소에 대한 영감은 이 블로그 게시물에서 가져왔습니다.
다음 파일이 생성되었는지 확인하십시오..\frontend\components\Query\index.js
import React from "react";
import { useQuery } from "@apollo/react-hooks";
const Query = ({ children, query, summoner }) => {
const { data, loading, error } = useQuery(query, {
variables: { summoner: summoner },
});
if (loading) return <p>Loading...</p>;
if (error) return <p>Error: {JSON.stringify(error.message)}</p>;
return children({ data });
};
export default Query;
JavaScript
복사
우리의 요구에 맞게 약간 수정되었습니다.
쿼리
두 번째로 필요한 것은 쿼리 구성 요소 내에서 사용할 실제 쿼리입니다. http: \ localhost:1337\graphql 아래에 있는 GraphQL 인터페이스를 사용 하여 쿼리를 작성할 수 있습니다.
쿼리의 경우 다음 파일을 생성해야 합니다..\frontend\queries\summoner\summoner.js
import gql from "graphql-tag";
const SUMMONER_QUERY = gql`
query SummonerByName($summoner: String!) {
SummonerInfo: Summoner(summoner: $summoner) {
id
puuid
name
summonerLevel
profileIconId
games {
gameMode
gameCreation
gameDuration
assists
kills
deaths
championName
champLevel
win
}
}
}
`;
export default SUMMONER_QUERY;
JavaScript
복사
최종 사이트는 다음과 같아야 합니다.
소스 코드
이 기사의 소스 코드는 아래에서 찾을 수 있습니다.
결론
여기까지 온 것을 축하합니다!
이 튜토리얼을 마치면 외부 데이터에 액세스하기 위한 사용자 지정 경로를 쉽게 생성하고 비즈니스 로직과 일치하도록 경로에 대한 사용자 지정 GraphQL 스키마를 만드는 방법을 이해해야 합니다.
코드
cotnro
"use strict";
/**
* A set of functions called "actions" for `riot`
*/
module.exports = {
// exampleAction: async (ctx, next) => {
// try {
// ctx.body = 'ok';
// } catch (err) {
// ctx.body = err;
// }
// }
findSummonerByName: async (ctx) => {
try {
const summoner = ctx.params.summoner || ctx.params._summoner;
const profile = await strapi.services.riot.summoner(summoner);
const games = await strapi.services.riot.games(profile.puuid);
return { ...profile, games: games };
} catch (err) {
return err;
}
},
};
JavaScript
복사
service
"use strict";
/**
* riot service.
*/
const axios = require("axios");
const fetchRiot = async (uri) => {
const { data } = await axios.get(uri, {
headers: { "X-Riot-Token": process.env.RIOT_KEY },
});
return data;
};
module.exports = () => ({
summoner: async (name) => {
// Setup e-mail data.
try {
const data = await fetchRiot(
`https://eun1.api.riotgames.com/lol/summoner/v4/summoners/by-name/${name}`
);
return data;
} catch (err) {
return err;
}
},
games: async (puuid) => {
try {
const data = await fetchRiot(
`https://europe.api.riotgames.com/lol/match/v5/matches/by-puuid/${puuid}/ids?start=0&count=5`
);
const games = await Promise.all(
data.map(async (id) => {
const {
info: {
gameCreation,
gameDuration,
gameId,
gameMode,
participants,
},
} = await fetchRiot(
`https://europe.api.riotgames.com/lol/match/v5/matches/${id}`
);
return {
gameCreation: gameCreation,
gameDuration: gameDuration,
gameId: gameId,
gameMode: gameMode,
...participants.filter((item) => {
return item.puuid == puuid;
})[0],
};
})
);
return games;
} catch (err) {
return err;
}
},
});
JavaScript
복사
routes
module.exports = {
routes: [
// {
// method: 'GET',
// path: '/riot',
// handler: 'riot.exampleAction',
// config: {
// policies: [],
// middlewares: [],
// },
// },
{
method: "GET",
path: "/summoner/:summoner",
handler: "riot.findSummonerByName",
config: {
policies: [],
},
},
],
};
JavaScript
복사
