intro.js라는 유저 온보딩 라이브러리를 만들어본다.
온보딩하기 위한 컨텐츠 세팅
.highlight-container
가장 먼저 회색으로 된 배경을 가진 div 컨테이너를 만들어봅니다.
.highlight-container {
width: 50px;
height: 50px;
border: 1px solid black;
box-shadow: 0 0 0 100vmax rgba(0, 0, 0, 0.2);
}
CSS
복사
이렇게 되면 회색 배경 위에 div 컨테이너 이외의 다른 모든 요소들이 그려집니다.
따라서 요소들을 뒤로 보내기 위해서 z-index를 9999로 줍니다. 이건 position: absolute와 같이 쓰도록 잊지 말아야 합니다. z-index가 실제로 작동될 절대 위치를 정해주는 것입니다.
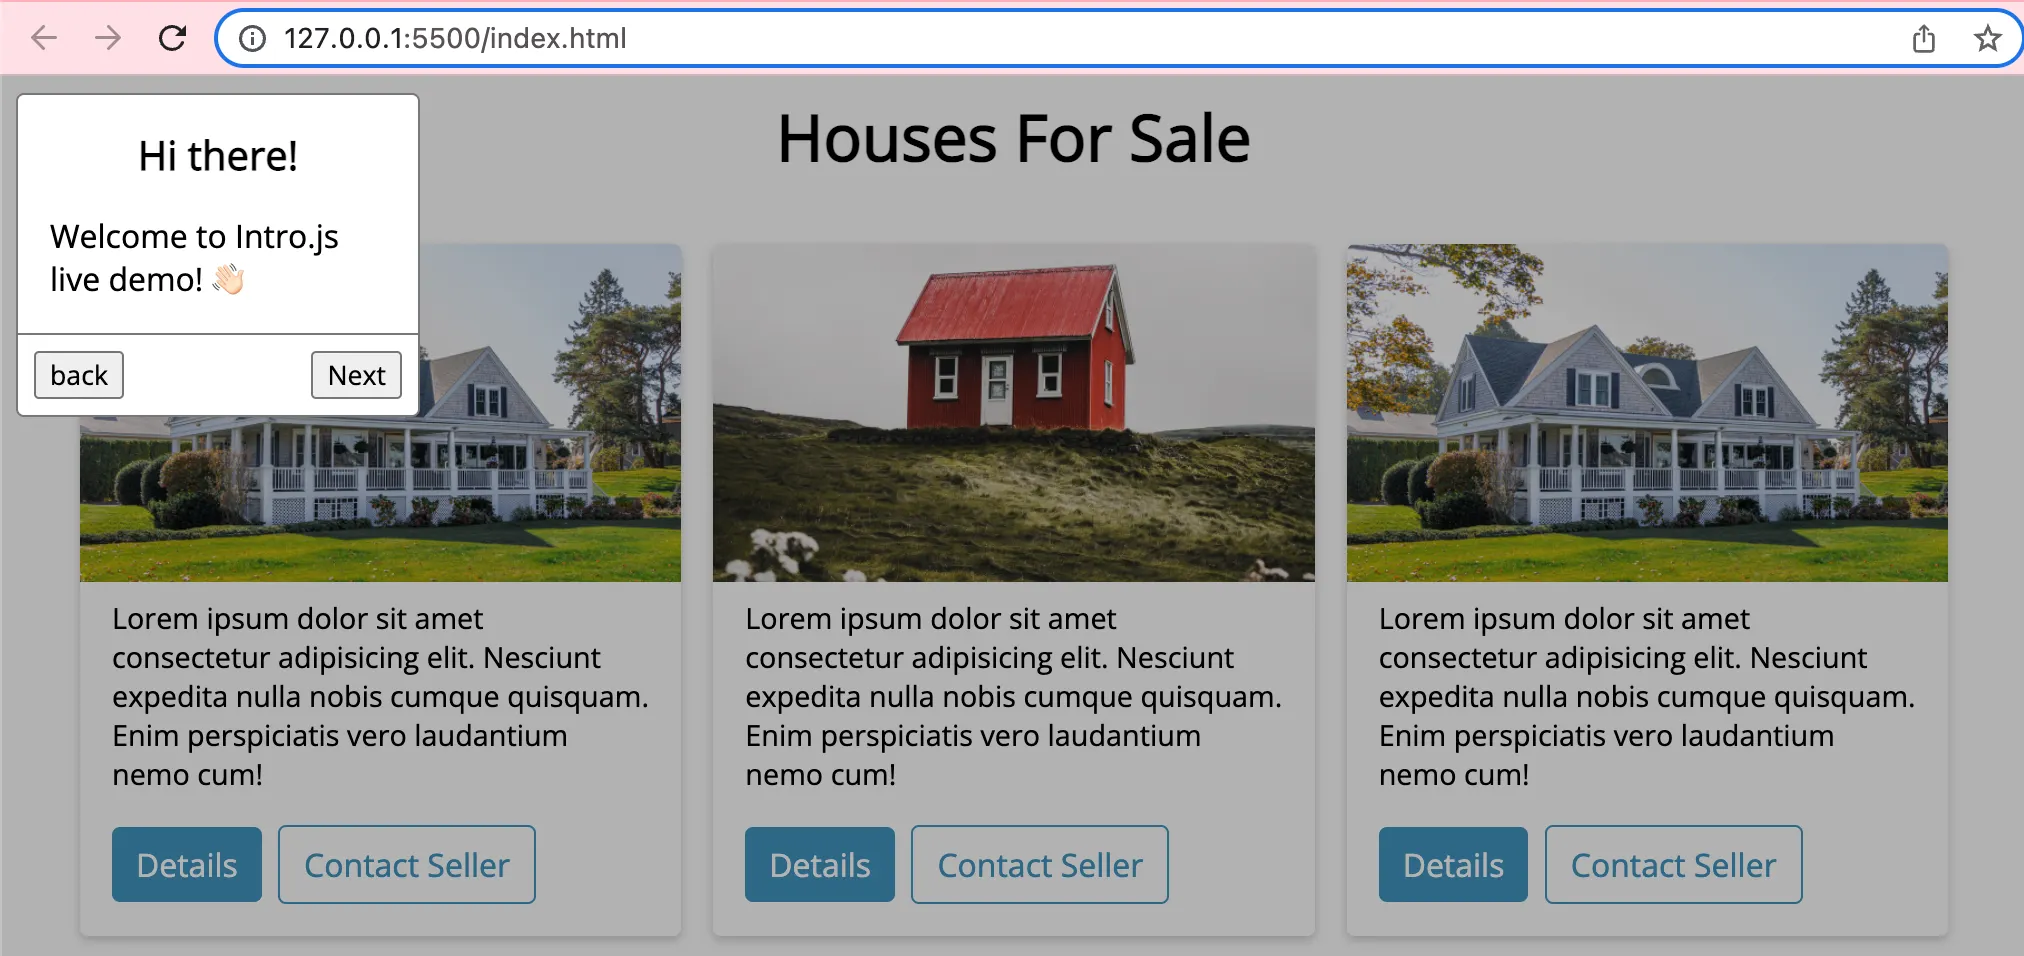
이제 다른 요소들도 회색 배경에 덮여서 어둡게 보입니다.
여기에 top, left를 줘서 특정 문자를 하이라이팅하도록 합니다.
.highlight-container {
top: 20px;
left: 50%;
width: 50px;
height: 50px;
border: 1px solid black;
box-shadow: 0 0 0 100vmax rgba(0, 0, 0, 0.2);
z-index: 99999;
position: absolute;
}
CSS
복사
intro.js는 특정 범위만큼 페이지를 어둡게 덮도록 하고 있습니다. 우리 라이브러리도 아래로 스크롤을 내려보면 중간에 컨테이너가 끊깁니다.
우리는 그냥 다 덮어놓겠습니다. 유저를 집중시키는 것이 일단 중요한 것 같습니다. box-shadow의 /* offset-x | offset-y | blur-radius | spread-radius | color */ 에 따라 spread-radius를 매우 크게 줍니다.
border-shadow가 실질적인 배경의 역할을 해주고 있고 우리는 컨테이너를 만드려는 것이므로 border만 가지도록 수정합니다.
hide라는 클래스를 추가하면 border : .1em을 보이지 않게 하면서 컨테이너 역할을 수행하게 할 수 있습니다.
.highlight-container {
border: 0.1em solid black;
border-radius: 0.25em;
box-shadow: 0 0 0 999999px rgba(0, 0, 0, 0.3);
z-index: 99999;
position: absolute;
}
.highlight-container.hide {
border: none;
}
CSS
복사
modal 만들기
배경을 만들었으니 하이라이팅 받을 모달을 만듭니다.
위치는 지정해주지 않았지만 아래와 같이 스타일을 지정하면 됩니다. z-index는 모달이 더 높게 수정해줍니다.
// index.html
...
<body>
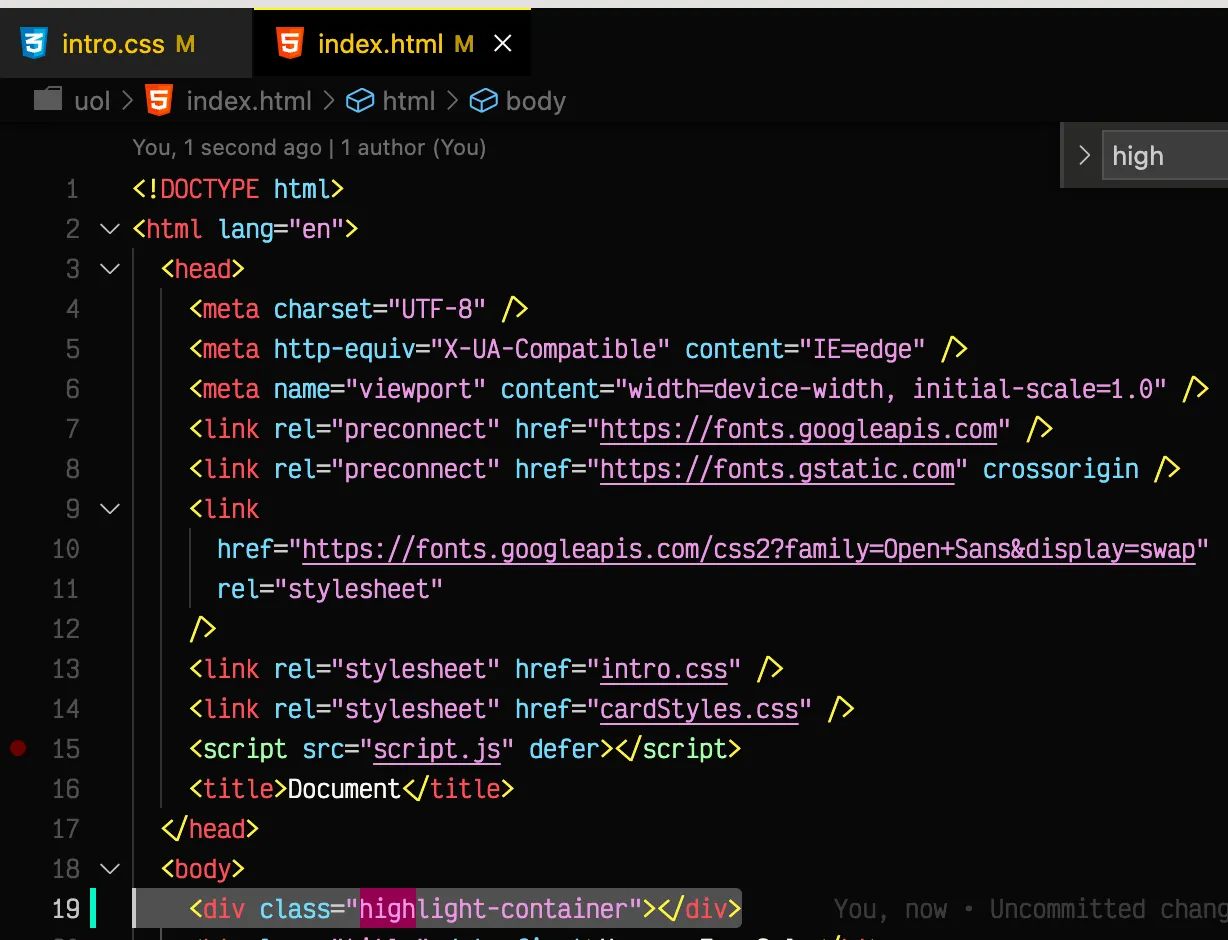
<div data-highlight-container class="highlight-container hide"></div>
<div data-modal class="modal">
<div class="title">Hi there!</div>
<div class="body">Welcome to Intro.js live demo! 👋🏻</div>
<div class="footer">
<button data-back-btn>back</button>
<button data-next-btn>Next</button>
</div>
</div>
<h1 class="title" data-first>Houses For Sale</h1>
...
<body>
HTML
복사
// intro.css
.highlight-container {
border: 0.1em solid black;
border-radius: 0.25em;
box-shadow: 0 0 0 999999px rgba(0, 0, 0, 0.3);
z-index: 9000;
position: absolute;
}
.highlight-container.hide {
border: none;
}
.modal {
background-color: white;
position: absolute;
border: 1px solid #777;
border-radius: 0.25em;
max-width: 200px;
z-index: 9001;
}
.modal.center {
--translate: -50%, -50%;
position: fixed;
--y: 50% !important;
--x: 50% !important;
}
.modal.show {
--scale: 1;
opacity: 1;
}
.modal .body,
.modal .title {
padding: 1rem;
}
.modal .title {
font-size: 1.25em;
font-weight: bold;
padding-bottom: 0;
}
.modal .footer {
border-top: 1px solid #777;
padding: 0.5rem;
display: flex;
justify-content: space-between;
}
.modal .footer button {
cursor: pointer;
}
.modal .close-btn {
position: absolute;
top: 0;
right: 0;
background: none;
border: none;
font-size: 1rem;
cursor: pointer;
color: #777;
transition: 150ms ease-in-out;
}
.modal .close-btn:hover {
color: black;
}
CSS
복사
동작을 정의하기 위한 자바스크립트 작성
IntroJS가 setOptions할 때의 파라미터는 위와 같습니다. 이를 참고해 구성합니다.
각 steps을 담아두고 각 배열의 요소는 title, intro, element를 줄 수 있습니다.
이렇게 만들어진 객체에 start() 메서드를 호출합니다.
우리는 미리 html 마크업을 해두었지만 자바스크립트 라이브러리화하기 위해서 자바스크립트가 modal을 만들어주도록 바꿀 것입니다.


